Trucks
Second of Four Parts
Connecting and Mounting a Power Take-Off
If you took the time to select the right PTO for the application, you are familiar with the product and the PTO installation process will be simpler.
Mikel E. Janitz
This article is the second of a series of articles to assist end users and installers in order to plan the selection, installation, trouble shooting and maintenance of refuse vehicles equipped with mobile power units and auxiliary pumps and motors. These articles cover the important and sometimes forgotten topics one needs to know to get the most out of their power take-off (PTO).
Whereas the previous article dealt with proper PTO selection (Waste Advantage Magazine; October 2012), now we will focus on PTO installation. There are a couple major areas to cover when mounting and connecting a PTO to the vehicle. Safety is first and foremost with any install. It is vital to know the vehicle inside and out and more importantly have a thorough knowledge of the underside. Secondly, be prepared, get your tools organized to avoid wasting time. Lastly, a few tips to get the most out of your PTO. Take some time to get a lay of the land before starting and read the installation manual that came with your unit (see Figure 1).
The First Steps
Ok admit it, reading the instruction manual is the last thing you do. Manuals are only reviewed if there is a problem, or you are stuck or get angry and need an 800 number to call. The truth is, reading the instruction manual and supplements are a great use of your time. There are some very important topics every installer needs to be aware of in those documents. PTOs change all the time. There are constant improvements made. New configurations are engineered and released. The installer needs to know what has been improved and changed. First, safety is very important. Read the warnings and caution page. Look through the installation kit and find the decals supplied by the PTO manufacture. Those decals must be placed on the vehicle to ensure others are knowledgeable and alerted to the performance of the PTO as well as the dangers if not paying attention while in use. Do not start the installation until all safety decals are in a suitable position.
Before you begin the installation, make sure the vehicle has cooled down. Don’t attempt to install any PTO with the vehicle running. Make sure wheels are chocked. Ensure the vehicle cannot be started while under the vehicle.Why is the engine hot you ask? Running the engine for a couple minutes and listening to the drive train noise is a good idea. This is important information to know after you install the PTO. You need a benchmark to compare later to determine if it is quieter, the same or louder. It is normal for the transmission noise to change once a PTO is installed. Let it cool down; the fluid is hot and can burn you as you remove the transmission cover. While it is cooling down, remove all the parts from the package. Get familiar with the unit, its hoses, flanges and output shafts, electrical connections and related accessories.
Proper Tools
Once you know what you have, you probably know what tools you need. Get the tools organized and located near the vehicle. One of the most important tools is lighting. Flood the area with light. You need to see what you are doing. Secondly, have the proper torque wrench handy. All PTOs need to be torqued to specification to reduce noise, improve gear meshing and it prolongs the life of the PTO. Not to mention proper torque minimizes leaks between the transmission and PTO. PTOs can be heavy; there are many ways to hold the unit in place, and it all depends on the amount of space available under the vehicle. One option is to get a partner for a few minutes to help hold it in place. Floor jacks are commonly used for bottom mounted PTOs. But before you get excited about bolting down the PTO, carefully check the backlash between the transmission gear and the PTO gear. Typically, the backlash ranges from 0.006 to 0.012 of an inch. It is recommended to use a dial indicator to determine the correct backlash. The smaller the reading, the quieter the PTO operates (see Figure 2). Remember you ran the engine earlier to benchmark the noise? Backlash is controlled primarily through the thickness of the gasket, by adding or removing mounting gaskets. Secondly, ensure the PTO mounting bolts are torqued to specification when installed since this will help minimize rattle.
Gasket Selection
Gasket selection is not difficult. A lot of PTO installations use the gasket that comes on the transmission under the aperture cover. If the installation manual states to use it, then do so. If the PTO has a kit, there may be a series of gaskets to select from. Begin with the thinnest gasket first and work your way to the thicker one. This can be a time consuming task, but it pays off in the long run. Remember, you want the PTO to run as quiet as possible. Good gasket selection not only helps reduce noise, but it also provides a barrier to leaks. No one wants transmission fluid dripping on his or her clean floor. The best tip to prevent leaks is to torque the mounting hardware to the proper specs and use a crossing pattern on the fasteners as you torque them down (see Figure 3).
This article will not go into the mechanics of assembly linkage or wiring the PTO to the vehicle. Each application is unique and slightly different for vehicle manufacturer. Read the installation manual or call the manufacturer to speak to a customer representative and they will be glad to walk you through the process. The customer service representatives are knowledgeable and happy to assist you.
Inspect the Gear
Here are a couple more tips to improve the installation process. Before the PTO is mounted inspect the trany gearby removing the cover on the transmission. With good lighting, slowly rotate the gear and look for burrs, nicks and other tooth deformities as well as where it is in respect to the aperture. After the PTO is mounted securely, rotate the output shaft. Does it turn freely? If not, there may be something in a bind. As the output shaft spins, listen for a metallic noise. If it is smooth then all is ok, if you hear grinding, this could be attributed to the PTO gear rubbing the transmission housing or clutch ring hitting the drive gear. If you hear an unusual noises remove the PTO and inspect. Here is an important tip: do not install a PTO without a gasket to reduce backlash. This will cause immediate damage to transmission gears and PTO gears. It is sure to leak, but that will be the least of your worries after you run it a few minutes. Yes, it is true that the smaller the backlash (or thinner the gasket), the quieter the performance, but no gasket will have a profound negative impact on the PTO and the tranny. And if you are the installer, your job may be negatively impacted as well (see Figure 4).
To recap, the PTO installation process is simple. If you took the time to select the right PTO for the application, you are familiar with the product. Once it is in the hands of the installer they need to do the same—get familiar with the PTO and all its parts. Read the instruction manual and use the appropriate tools to ensure the PTO and all parts are assembled correctly. Follow the safety instructions. Replenish any fluids that may have spilled or ran out of the transmission during assembly. Run the unit and listen for any noise or other obvious signs of concern. If it meets your satisfaction you are good to go to the next step of connecting your auxiliary equipment to the PTO. Otherwise a little adjustment may need to be made before continuing on.
In our next article the art of troubleshooting will be discussed to help keep the product running and productive.
Mikel Janitz is the Manager of Engineering for Muncie Power Products (Muncie, IN), a global leader in power take-offs and a worldwide organization dedicated to solving the vocational industry’s mobile power issues. Mikel graduated from Oklahoma State University with a BS and MS in Engineering and Engineering Management. He can be reached at [email protected] or visit www.munciepower.com.
Figure 1
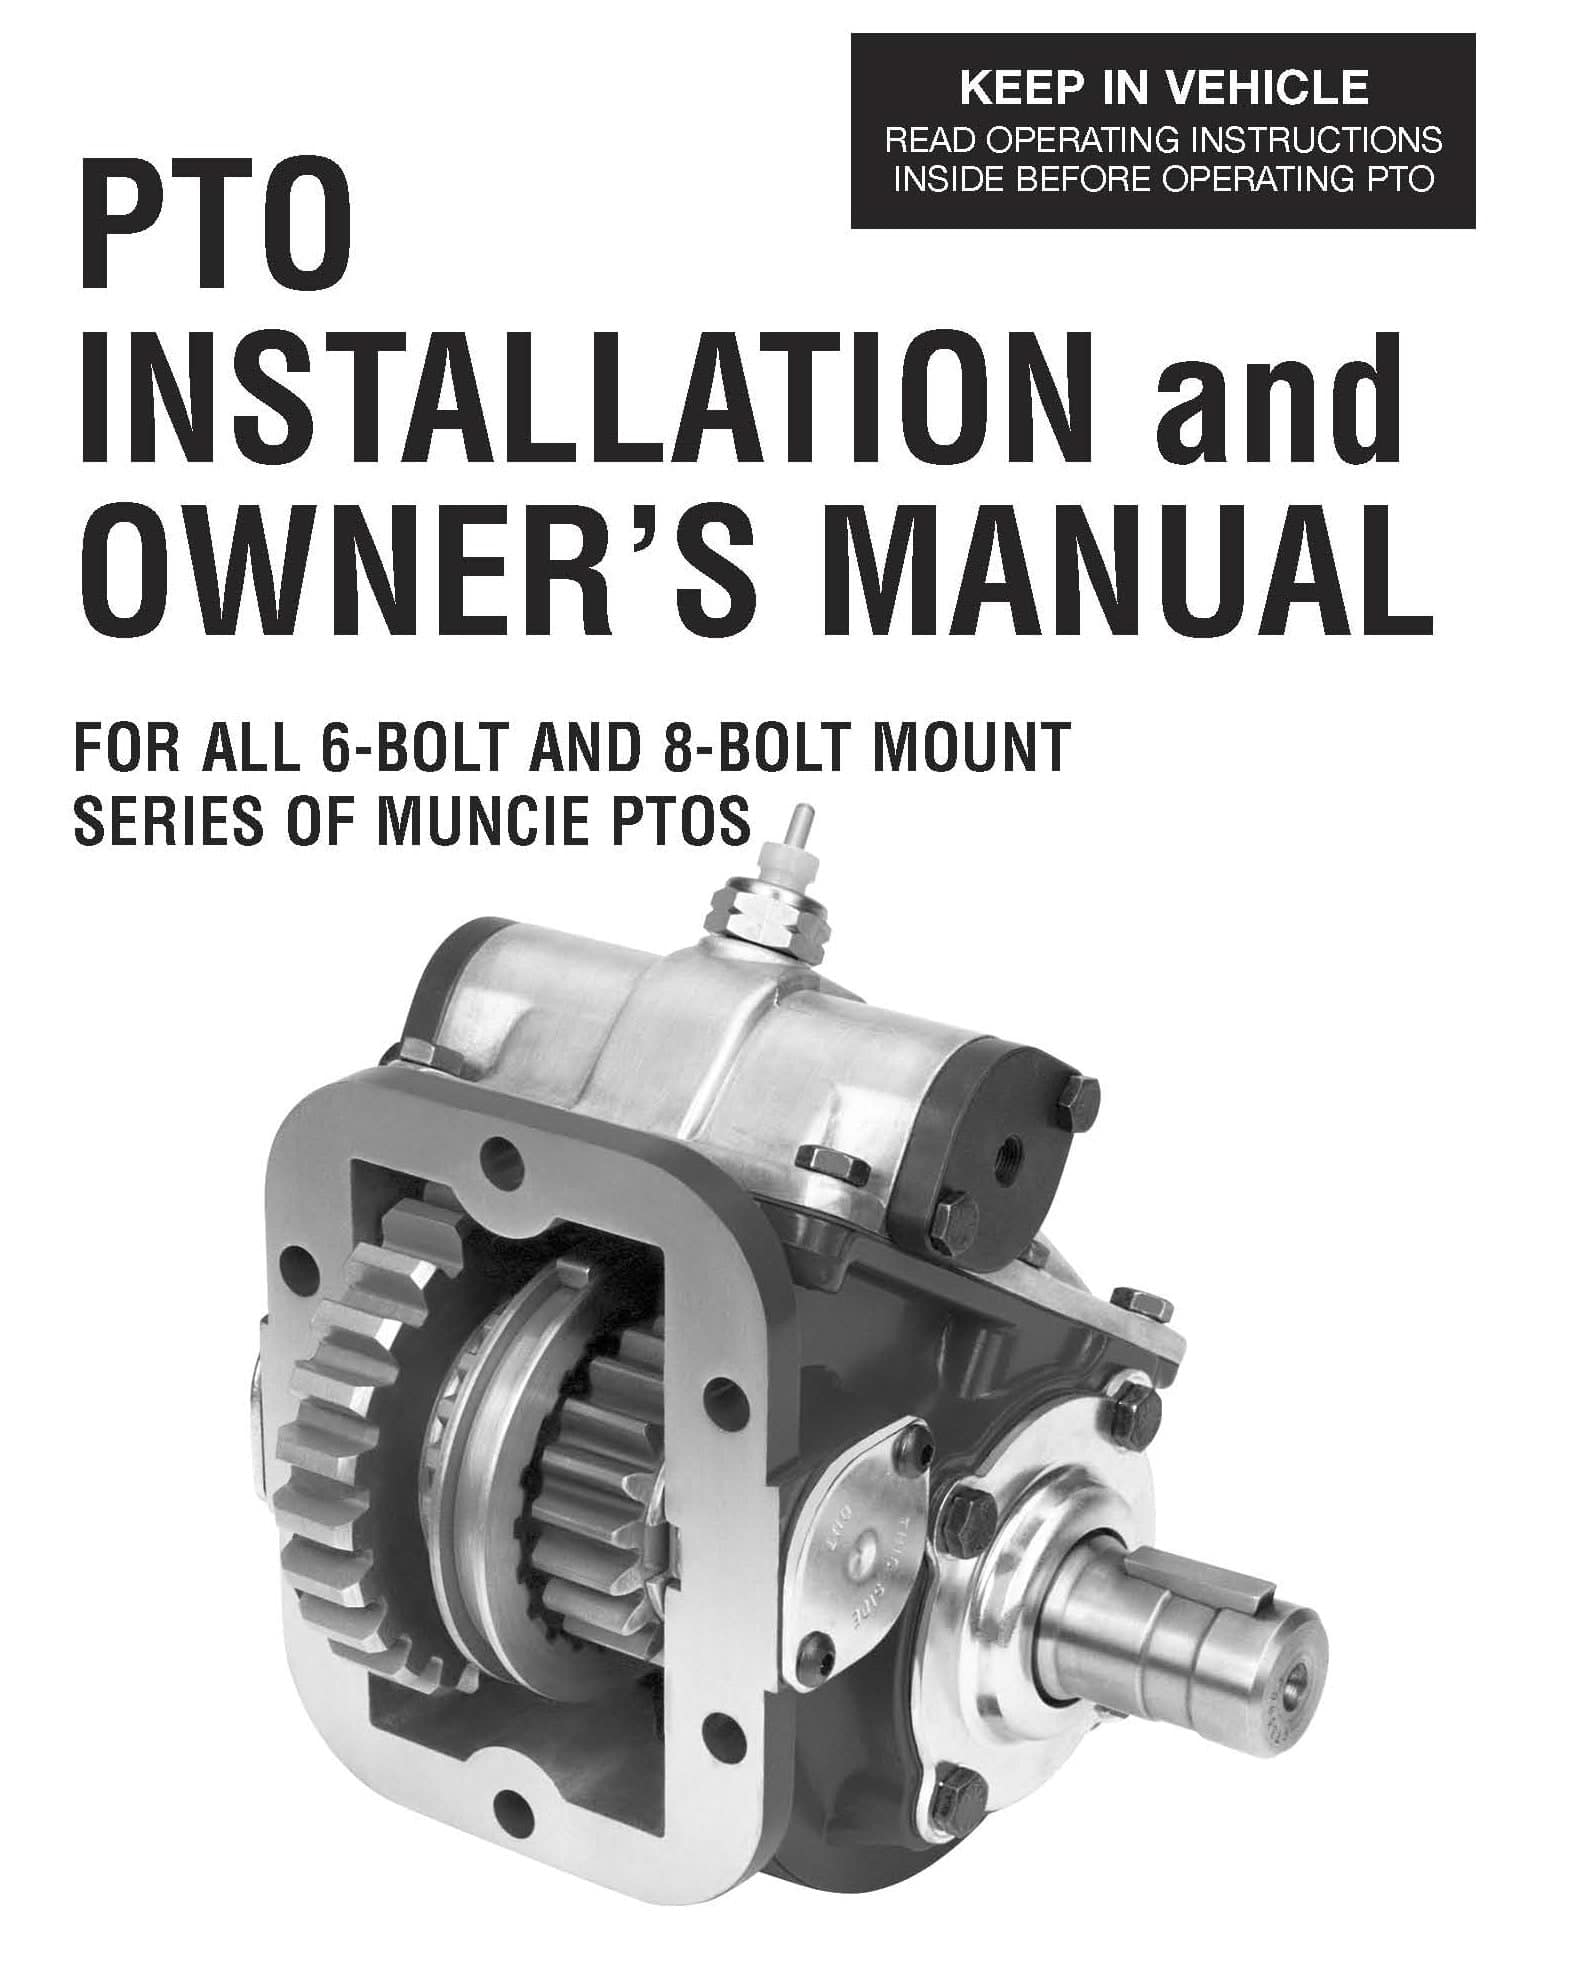
Installation manual. This is a sample PTO installation and owner’s manual. It is chalked full of specifics need to correctly install and safely operate the PTO.
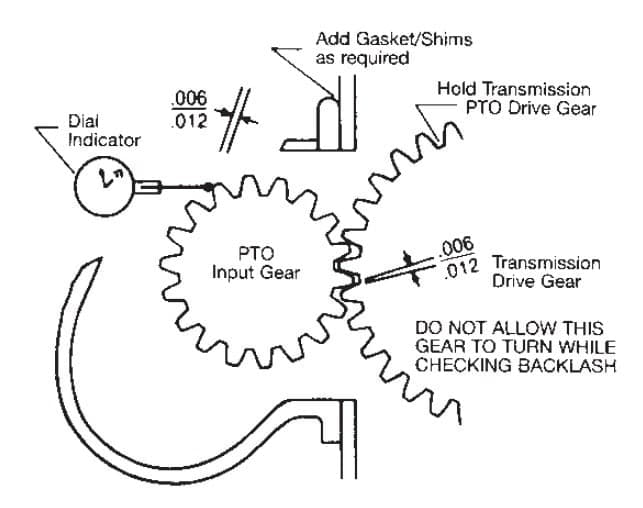
Figure 2
Depiction of backlash measurements. In the picture, the dial indicator is in contact with the PTO gear. When holding the transmission gear steady try to rotate the PTO gear. The movement is the measured readout on the dial indicator.
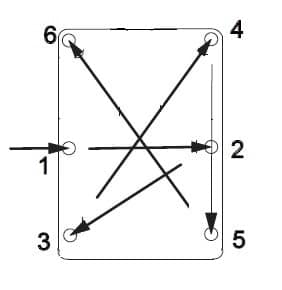
Figure 3
Bolt pattern. The PTO is first secured by hand tightening the hardware. Once all hardware is snug use a “X” style pattern to torque the fasteners.
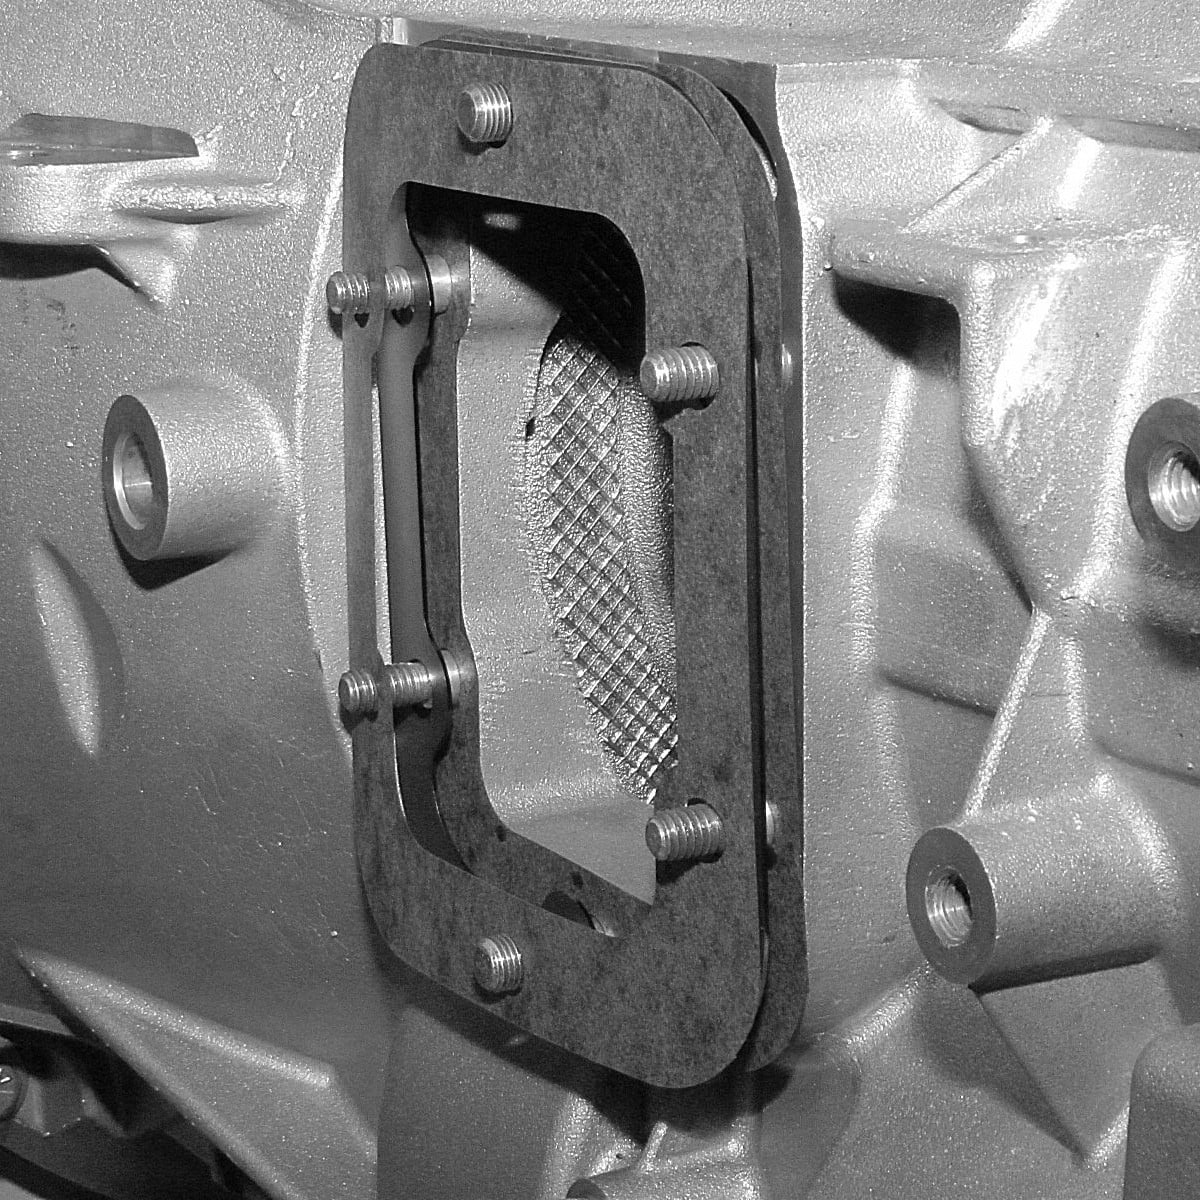
Figure 4
Gasket. Here is an actual photo with the PTO gasket in place on the transmission before the PTO is installed.
Images courtesy of Muncie Power Products.